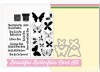
Hello! Welcome to the second day of the countdown to the newest card kit from My Favorite Things called Beautiful Butterflies!
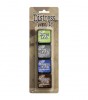
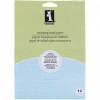
This month's kit is absolutely gorgeous and includes two stamps sets, a
die set, black embossing powder, a Versamark ink cube, two sheets of
translucent vellum and a beautiful assortment of cardstock.
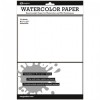
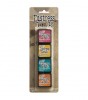
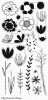
For my card today I used the largest solid butterfly image and stamped it three times onto watercolor cardstock using Distress inks. And since Distress inks aren't really great for image stamping (they're better for techniques) I used a paintbrush with water and painted over each of them after I stamped them to even out the colour and give them a watercoloured look.

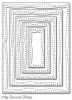
Once they were dry, I stamped the black outline part of the layer using Black Licorice dye ink and then I diecut all three of them using the coordinating Die-namics die. I love the black outline against the bright pop of colour! ;)
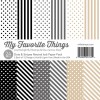
I stamped the sentiment onto a piece of white cardstock and cut it into a strip. I added black and white polka dot patterned paper to the sides of a top folding card base and then I added a white cardstock panel to the middle.

I adhered the butterflies in the center of the cardstock panel and used foam adhesive under the top of the wings of the green and pink butterfly. I trimmed off the parts of the top and bottom butterfly that went off the card front.
Make sure to head over to the MFT blog to see more cards created by the design team using this months kit. ;)
Supplies